Assisted Driving Toolbox
Teleoperation for mobile robot platforms, developed by Weston Robot. It lets an operator drive a robot over a shared network while watching its surroundings through the robot's onboard cameras.
Three generations are in service and their client software differs. The quickest way to tell which you have is the package name — wr_assisted_teleop is v1, wr-ad-toolbox is v2, wr-mission-control is v3. Every section below is tabbed by version, and the tabs are linked, so choosing one here selects it throughout the page.
- v3
- v2
- v1
Getting started
- v3
- v2
- v1
You need
- A host computer running Ubuntu 22.04
- A joystick or gamepad
- A network shared between the robot and the host computer
Install the client
Add our package repository first — see Weston Robot Apt Source — then:
sudo apt-get update
sudo apt-get install wr-mission-control
Additional third-party dependencies may be pulled in during installation.
First run
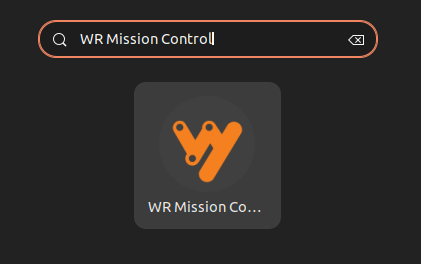
Press the Windows key and search for WR Mission Control, then open it.
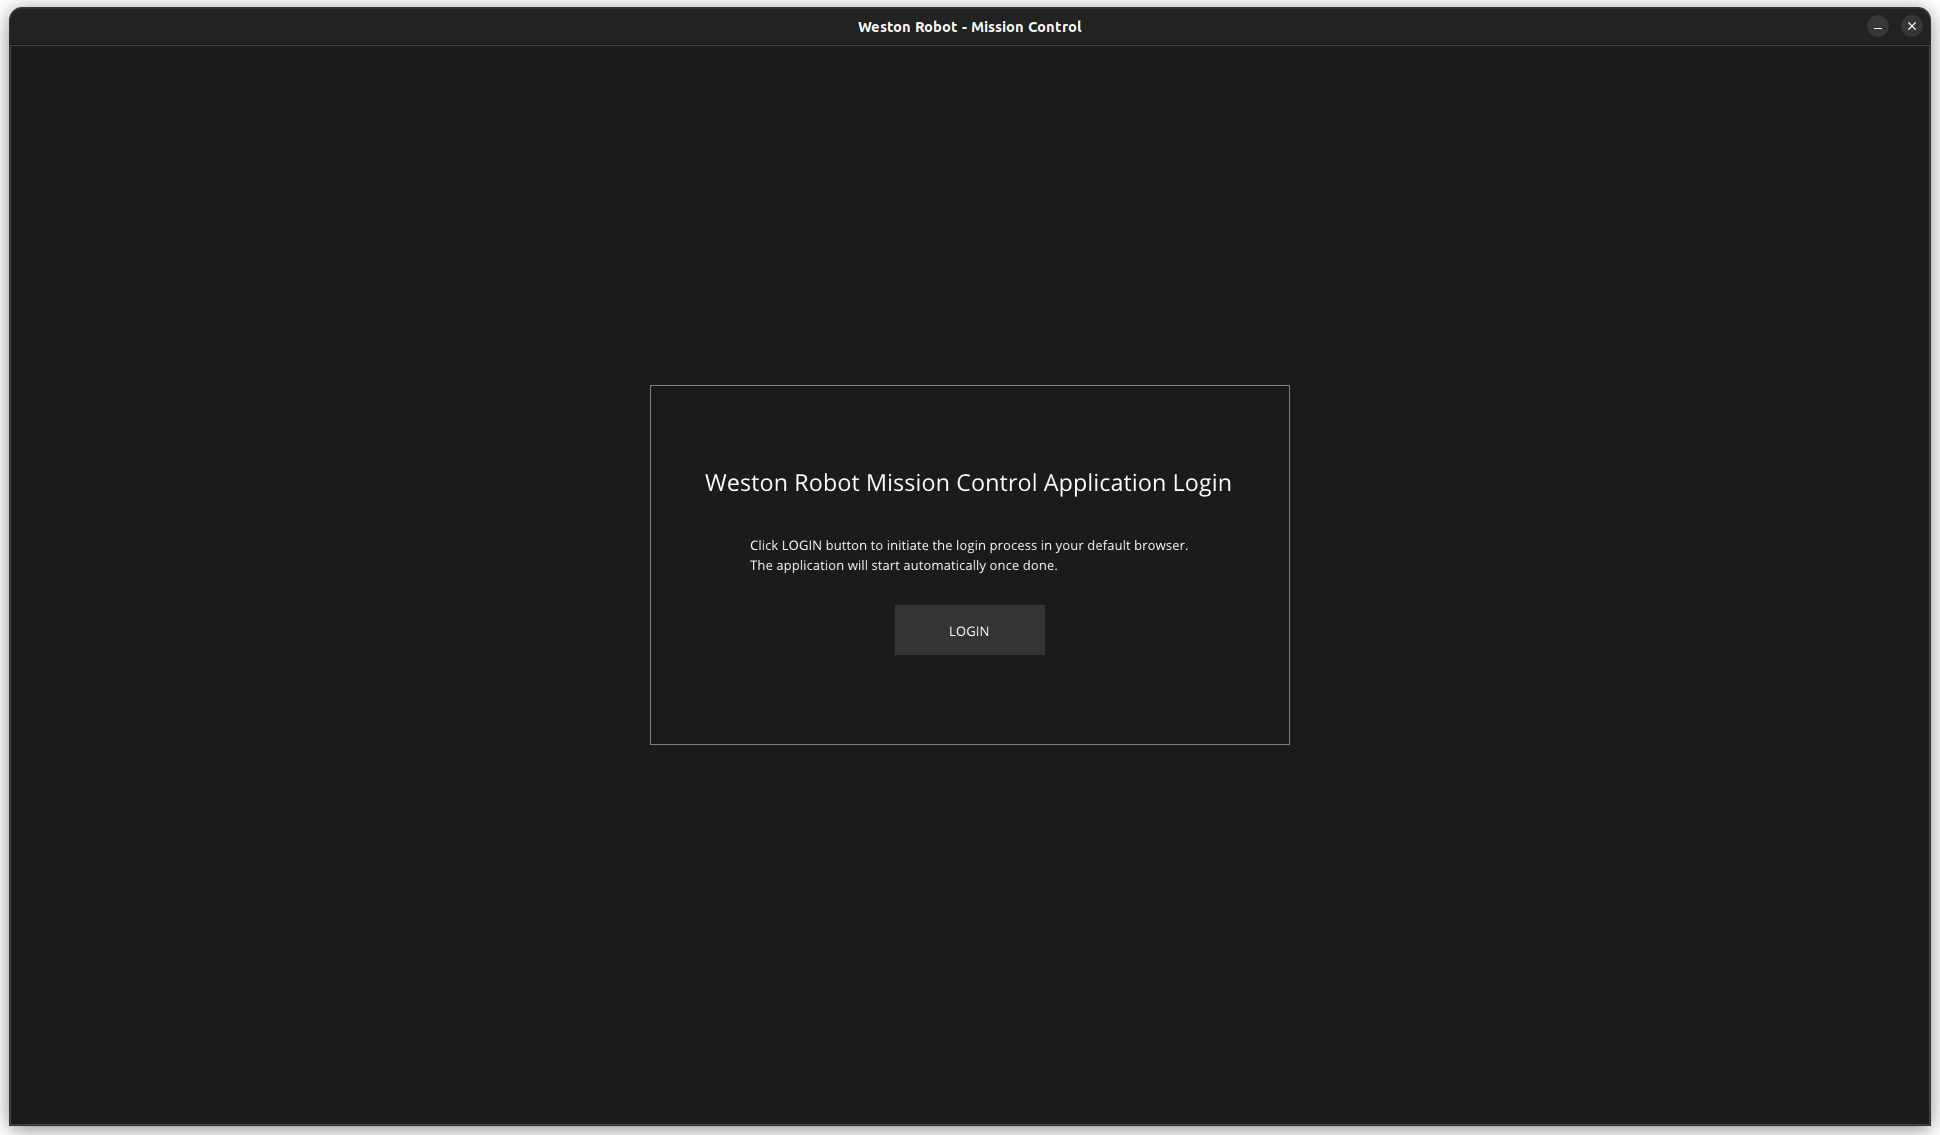
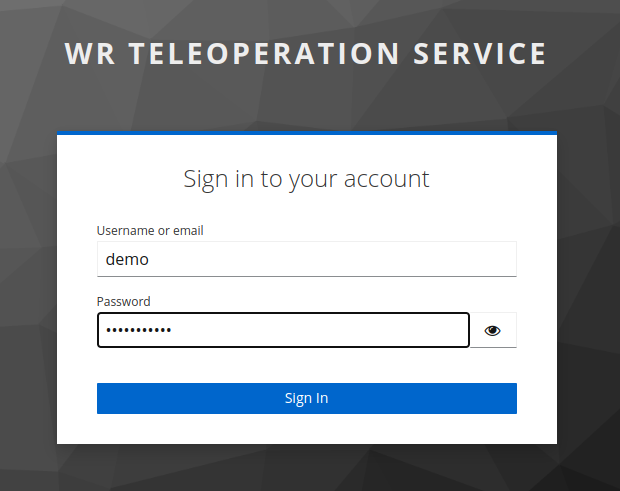
Click Login. A browser window opens for your credentials:
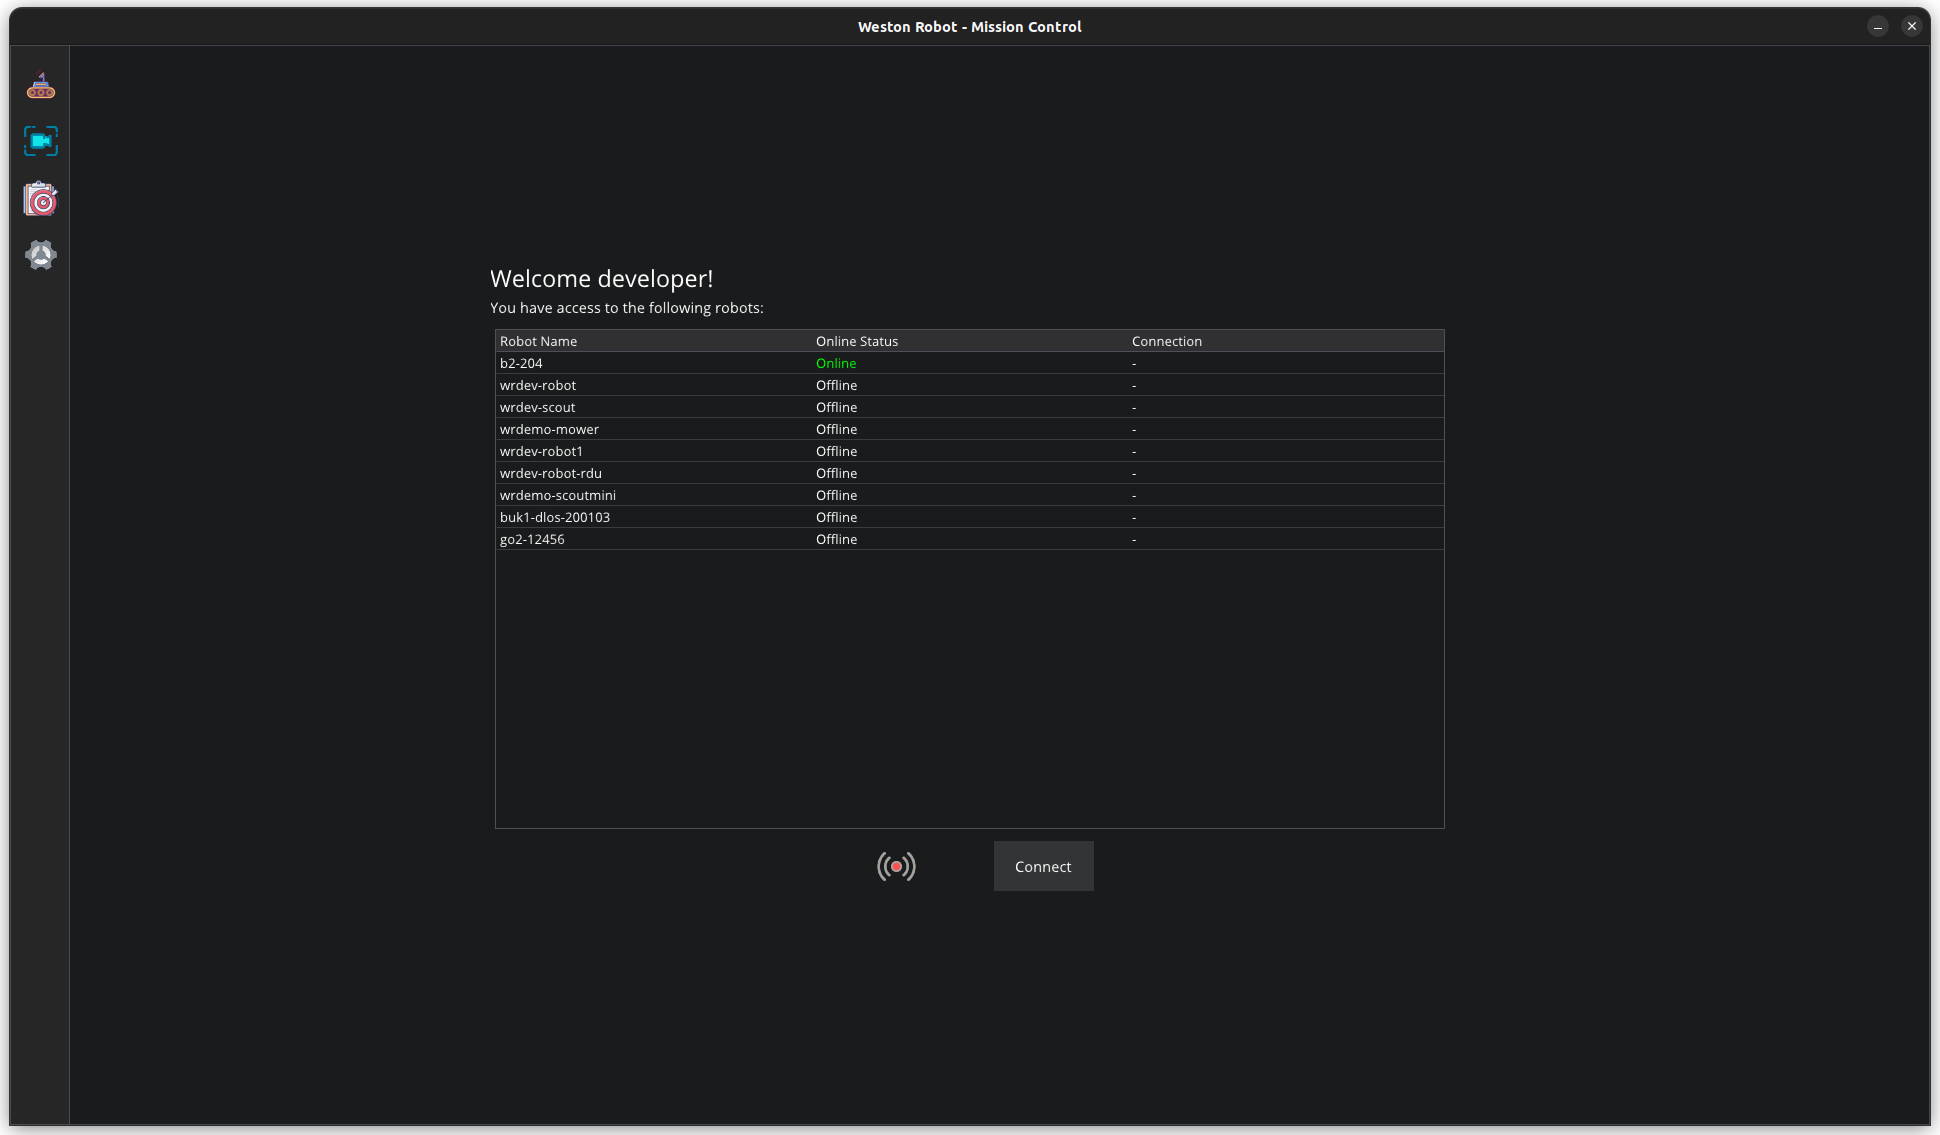
After logging in, choose the robot you want to control:
You need
- A host computer running Ubuntu 20.04 or 22.04
- A joystick or gamepad
- A network shared between the robot and the host computer
Install the client
Add our package repository first — see Weston Robot Apt Source — then:
sudo apt-get update
sudo apt-get install wr-ad-toolbox
Install the TLS certificates
v2 requires certificates to secure the connection between client and robot. This step does not exist in v3. You should have received a password-protected zip from us containing them.
-
Extract the zip somewhere convenient.
-
Open a terminal in that directory.
-
Run:
sudo ./install_certificates.sh
First run
Press the Windows key and search for WR Assisted Driving Toolbox, then open it.
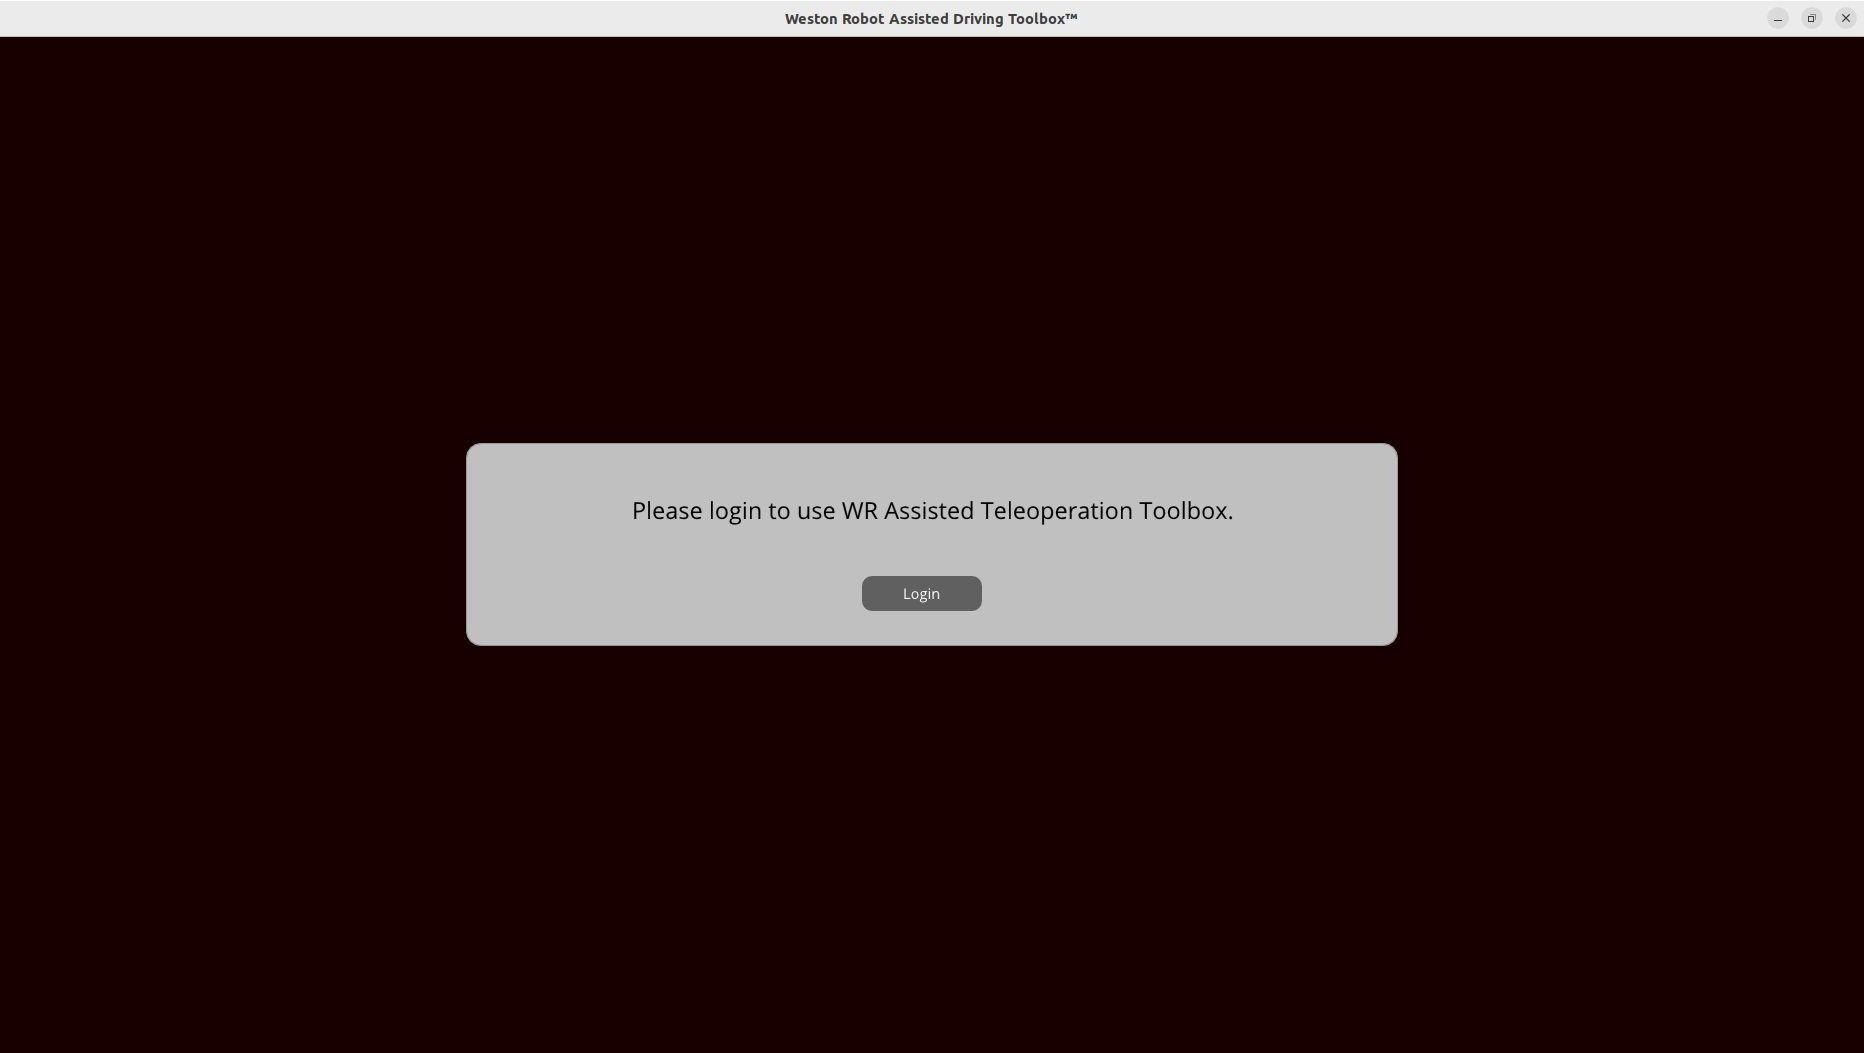
Click Login. A browser window opens for your credentials:
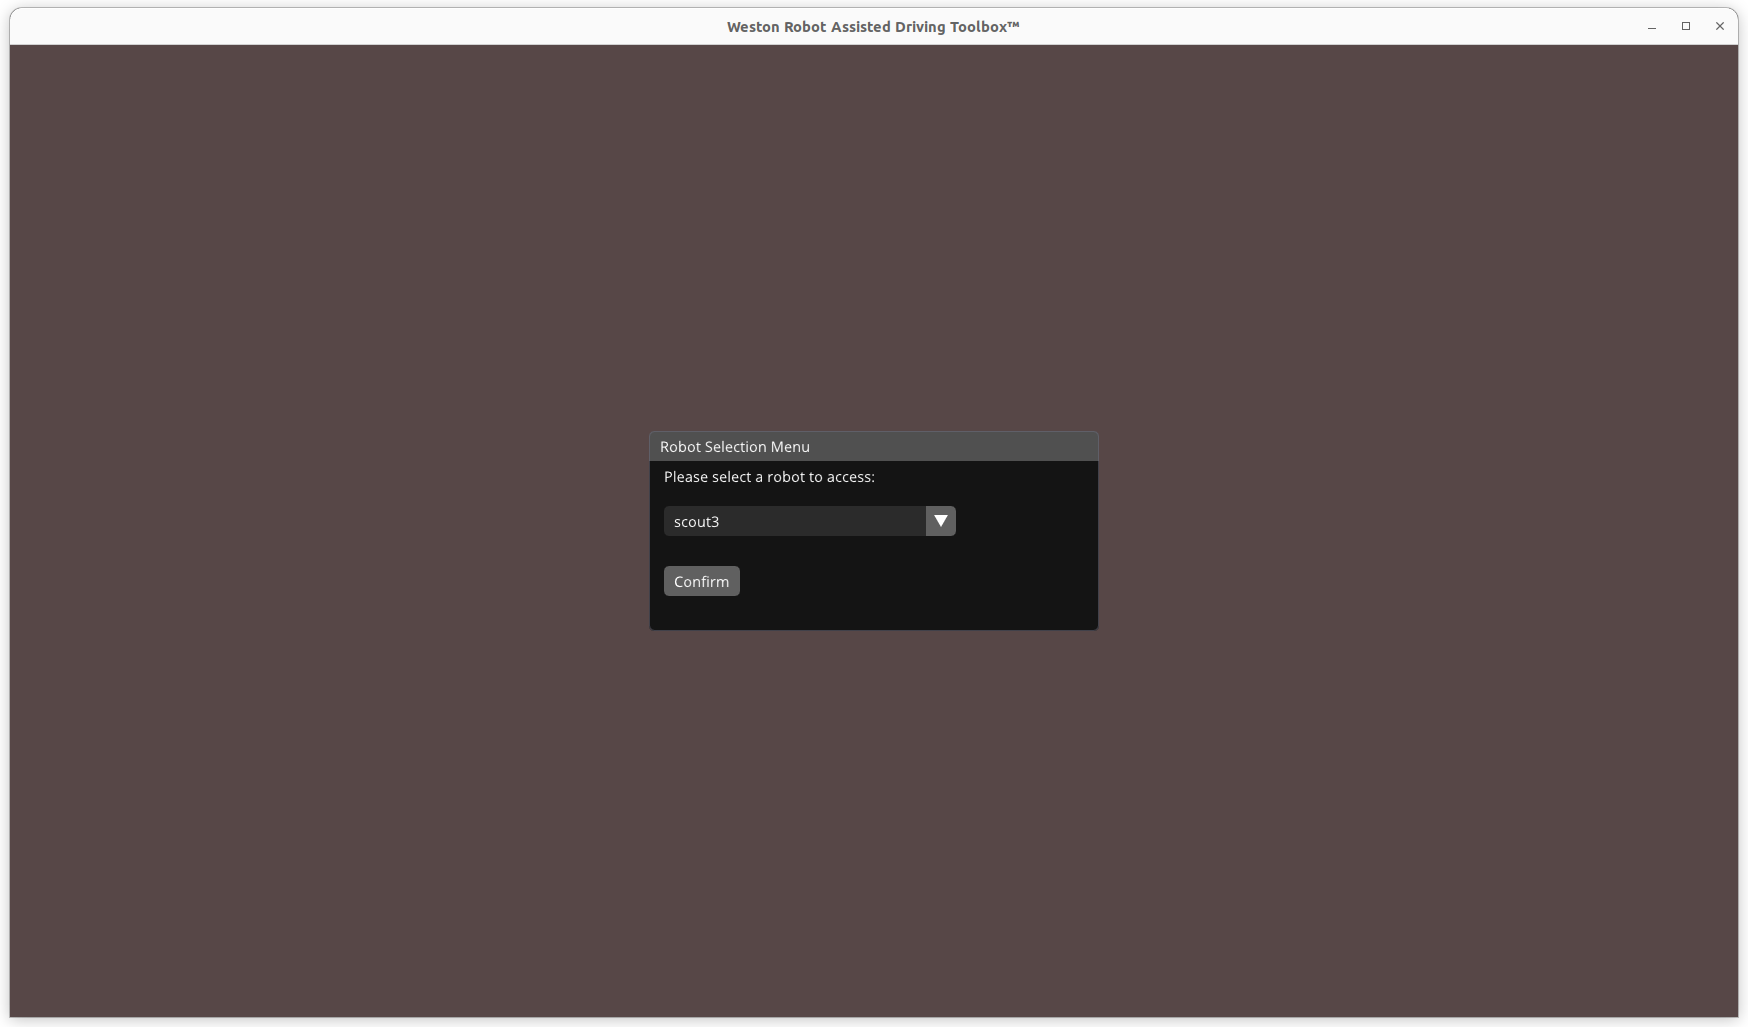
After logging in, choose the robot you want to control:
On first use the settings menu opens automatically so you can configure the joystick and cameras.
v1 is the original generation and differs from v2 and v3 in an important way: it runs a server on the robot that you may need to manage, and the client is pointed at that server by IP address rather than by logging in and picking a robot.
You need
- A host computer running Ubuntu 18.04 or 20.04
- A joystick for control
- A network shared between the robot and the host computer
The server on the robot
The ADT server is installed as a systemd service and starts with the robot:
sudo systemctl restart wr_adt_server.service     # restart
sudo systemctl stop wr_adt_server.service        # stop until next boot
sudo systemctl enable wr_adt_server.service      # start on boot
sudo systemctl disable wr_adt_server.service     # do not start on boot
Video streaming is configured in two files on the robot:
| File | Sets |
|---|---|
/opt/weston_robot/docker/wr_adt_server/config.yaml | Image resolution, compression rate, video stream endpoints |
/opt/weston_robot/docker/wr_adt_server/docker-compose.yaml | Streaming IP address |
Both carry comments describing the available options.
Install the client
sudo apt-get install libglfw3-dev libyaml-cpp-dev libopencv-dev
sudo apt-get update
sudo apt-get install wr_assisted_teleop
Add /opt/weston_robot/bin to your path, then start the client:
echo 'export PATH=/opt/weston_robot/bin:$PATH' >> ~/.bashrc
wr_assisted_teleop
The v1 client is configured with the robot's wlan0 IP address rather than by
selecting a robot from a list. Retrieve it before you open the client, or the
first-run settings dialogue will have nothing useful to put in it.
Key information
Related resources
| Resource | What it is | Where |
|---|---|---|
| Package repository | Required before installing any version | Weston Robot Apt Source |
Versions
| v1 | v2 | v3 | |
|---|---|---|---|
| Package | wr_assisted_teleop | wr-ad-toolbox | wr-mission-control |
| Application name | Assisted Driving Toolbox | WR Assisted Driving Toolbox | WR Mission Control |
| Host OS | Ubuntu 18.04 / 20.04 | Ubuntu 20.04 / 22.04 | Ubuntu 22.04 |
| Connecting to a robot | By IP address and port | Log in, then select a robot | Log in, then select a robot |
| TLS certificates | — | Required, installed separately | Not required |
| Server management | On the robot, by you | — | — |
| Settings button | Bottom right | Bottom right | Left side |
The practical difference: v1 is configured against one robot's address, so moving between robots means changing settings. v2 and v3 authenticate you and then offer the robots you have access to. v3 additionally drops the separate TLS certificate step.
Using it
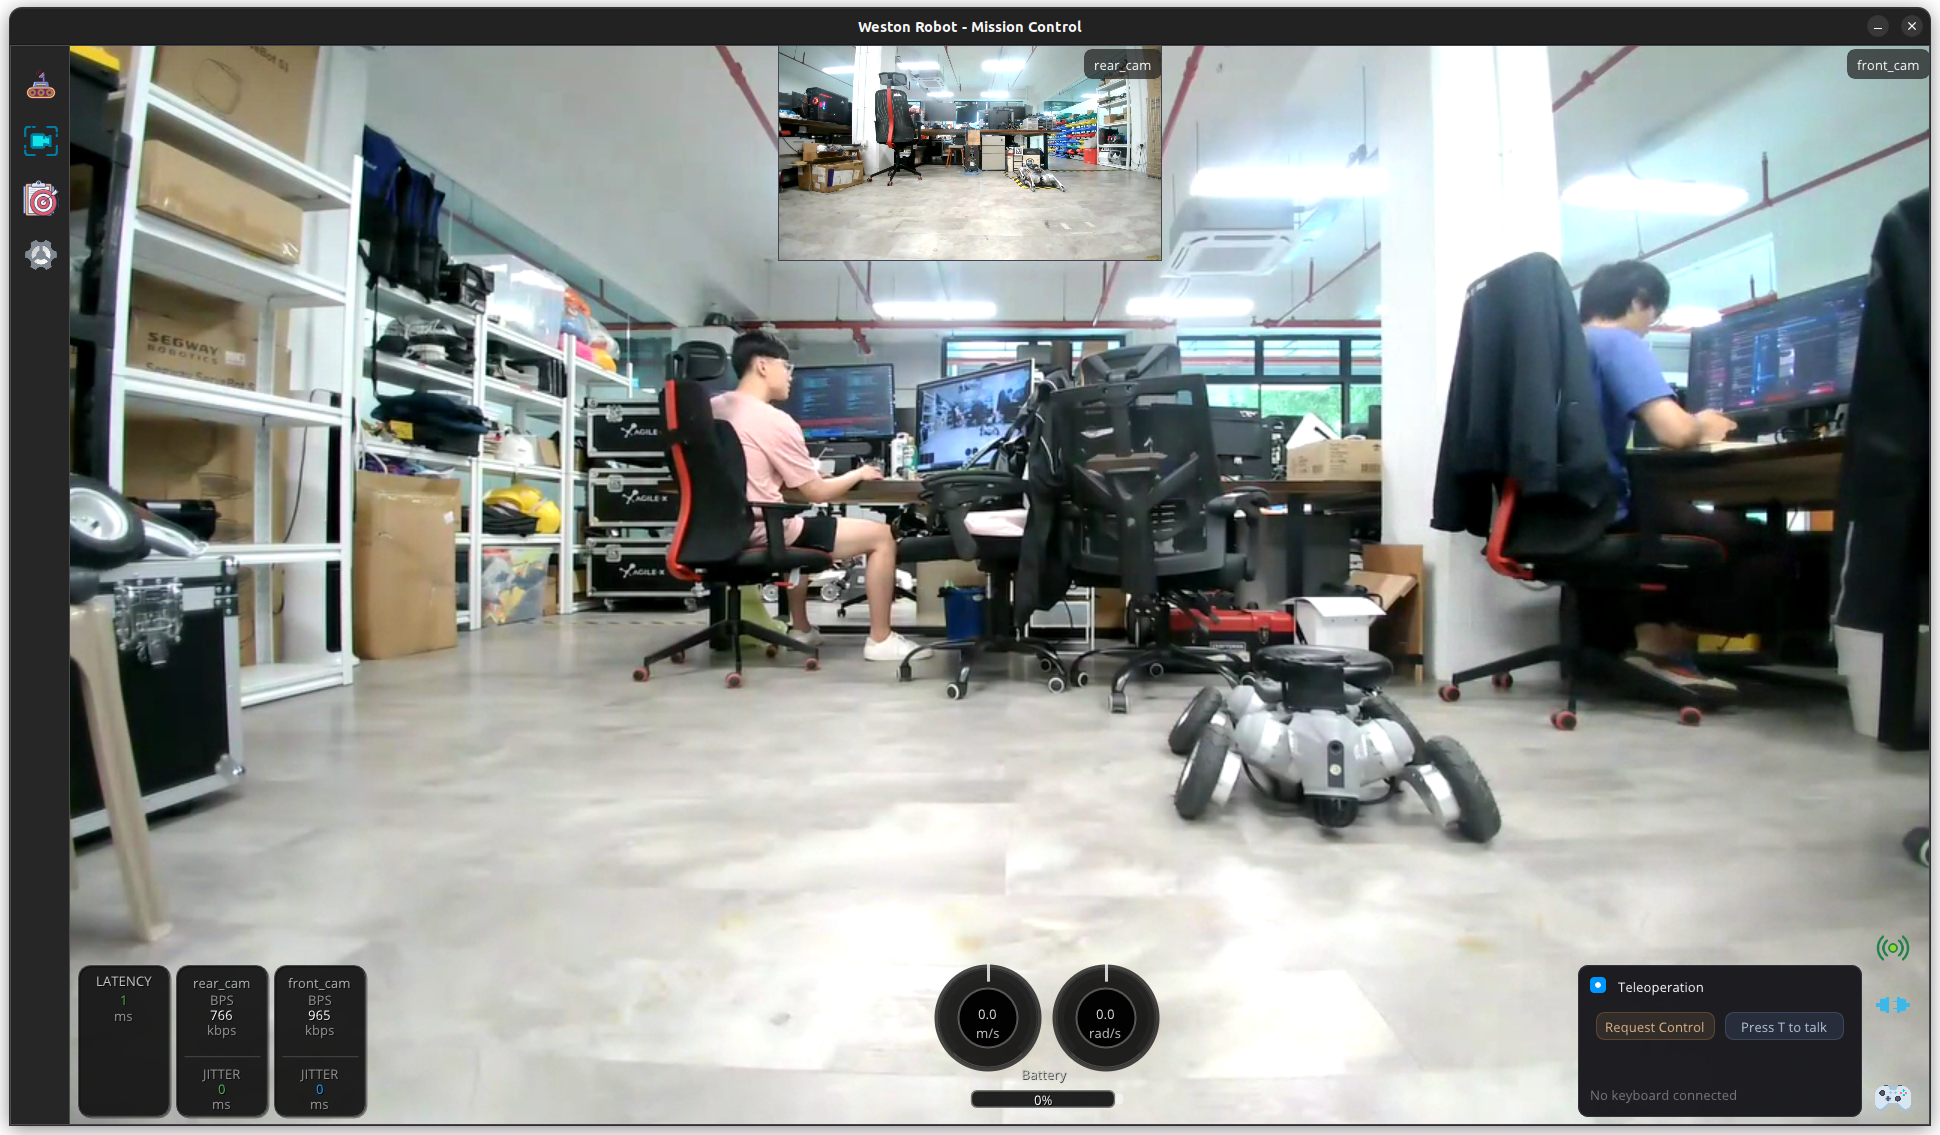
Teleoperation panel
The main control interface: drive the robot, and watch its surroundings through the onboard cameras in real time.
- v3
- v2
- v1
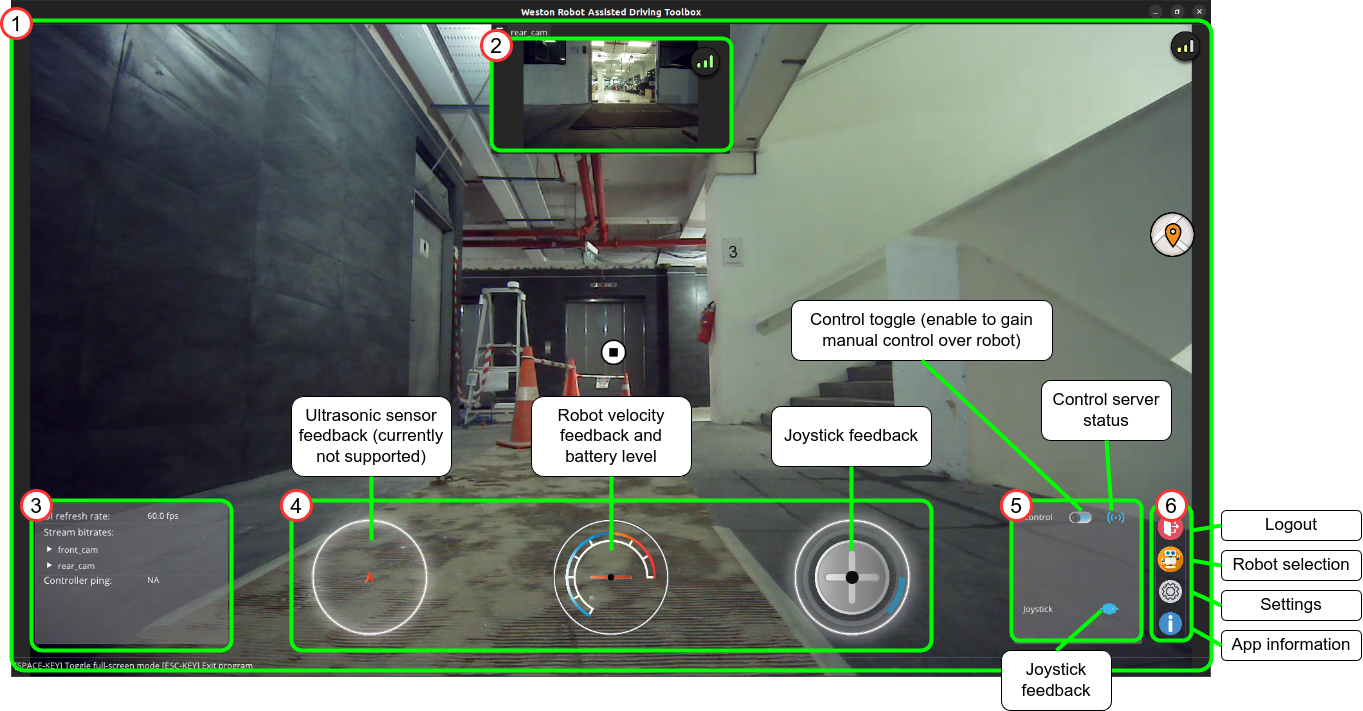
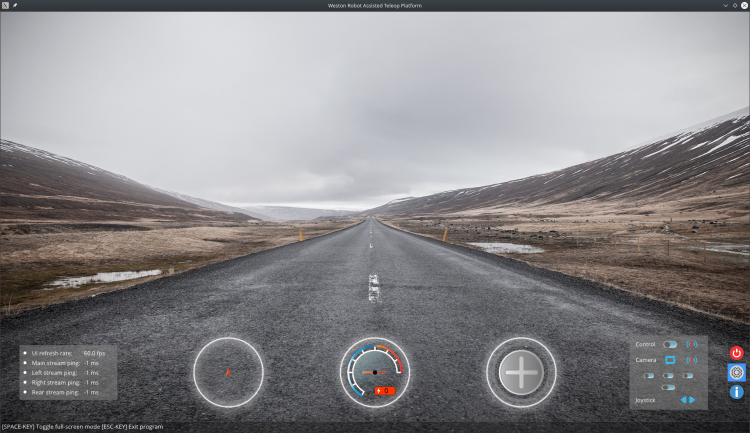
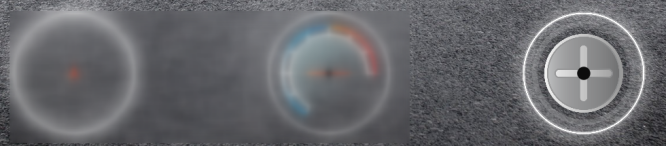
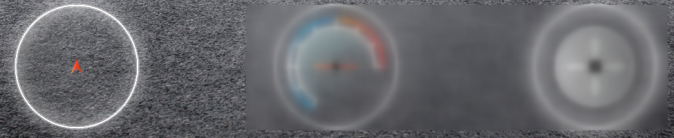
The v1 client shows the state of the control and video streaming servers, the camera streams, and gauges for the joystick, obstacle detection, speed and battery.
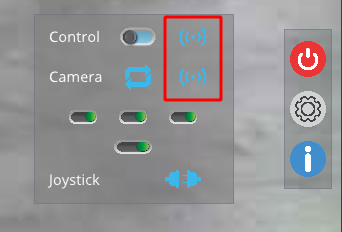
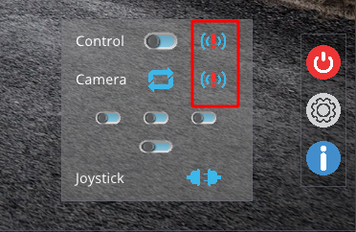
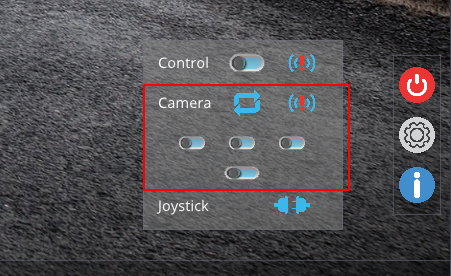
Camera streams are enabled automatically once configured; toggle them individually here:
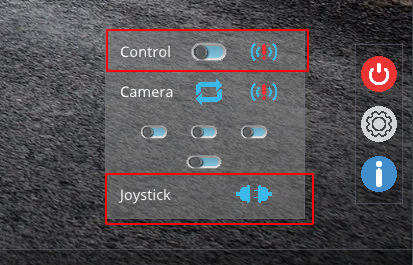
Control is disabled by default. Use these to enable it and to check the attached joystick:
Set height to the neutral position (50 %) and confirm the joystick behaves as expected before enabling control, or the robot may move suddenly.

Settings
- v3
- v2
- v1
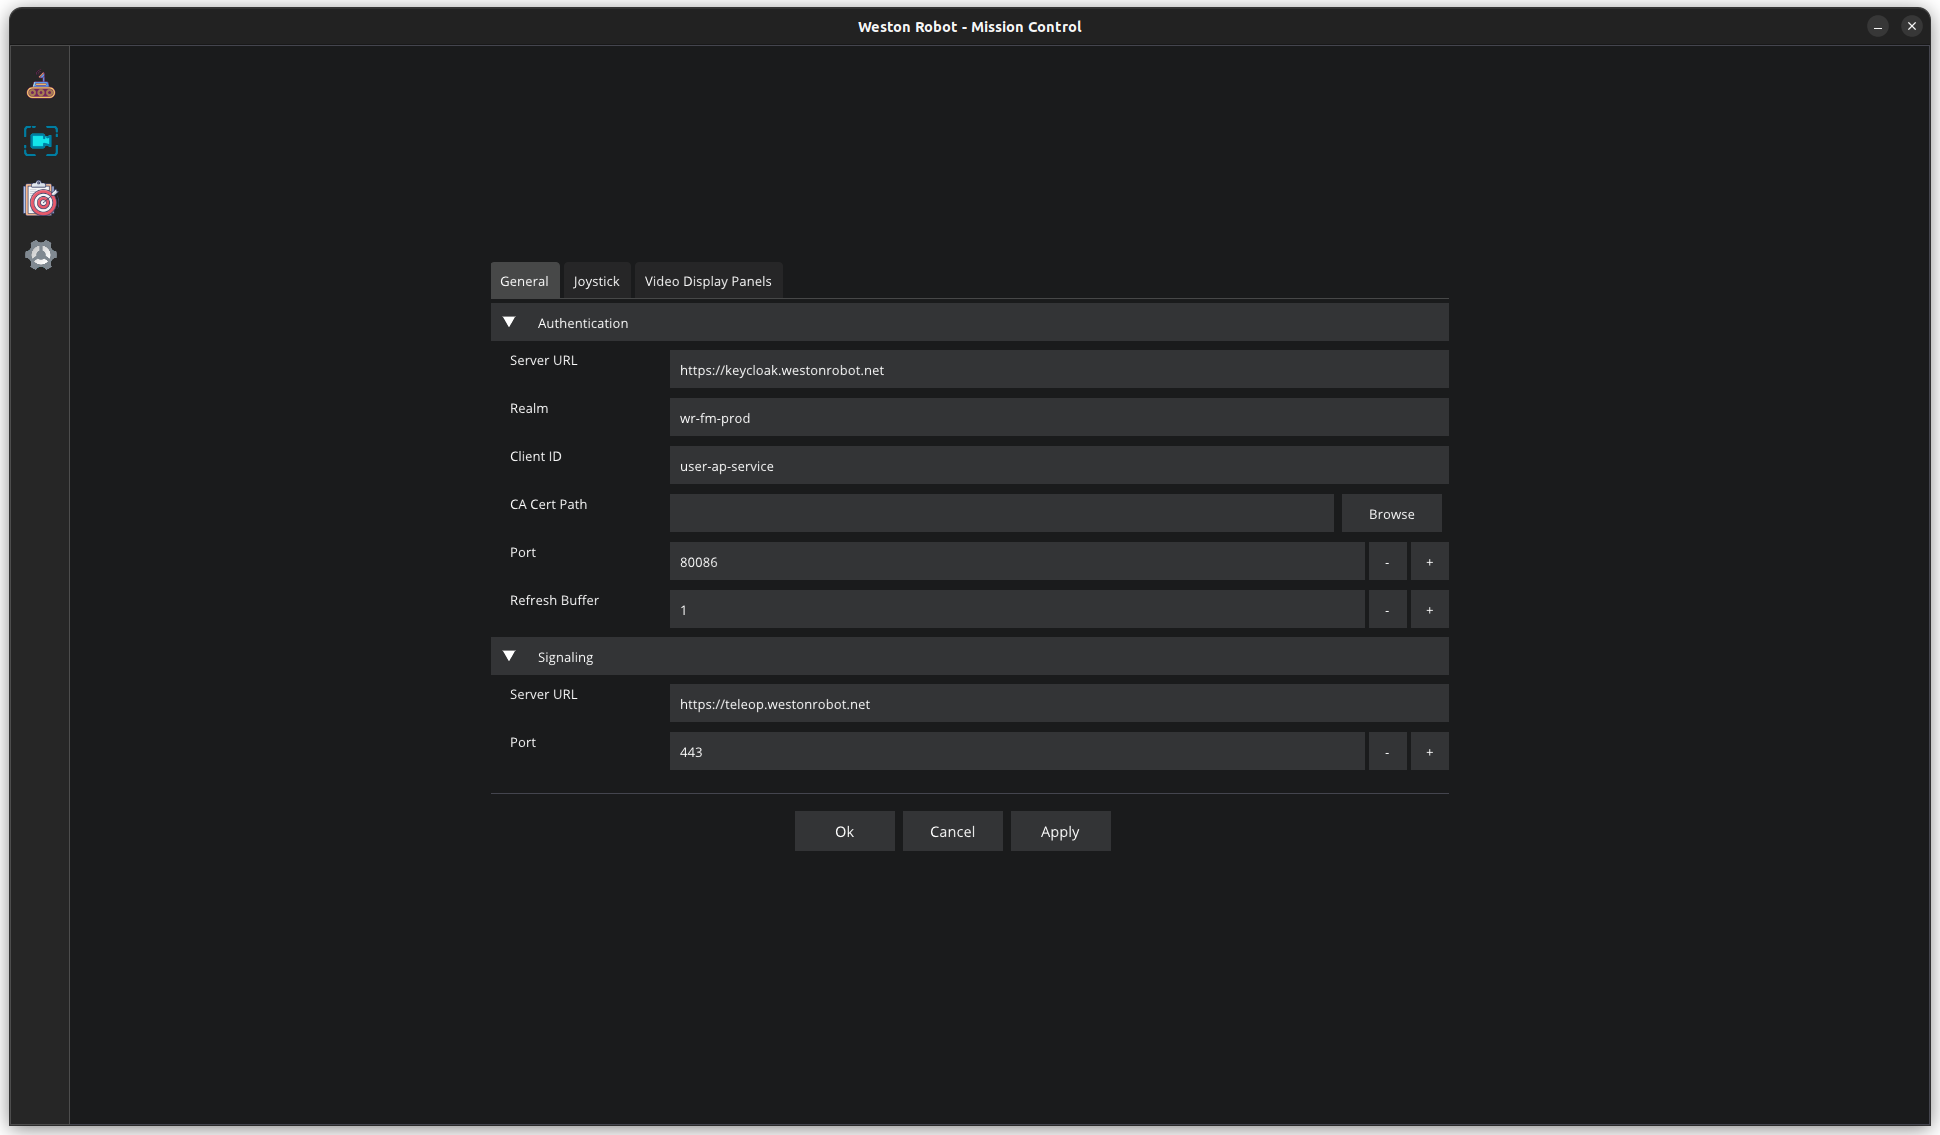
Joystick and camera settings, reached from the gear icon on the left side of the client.
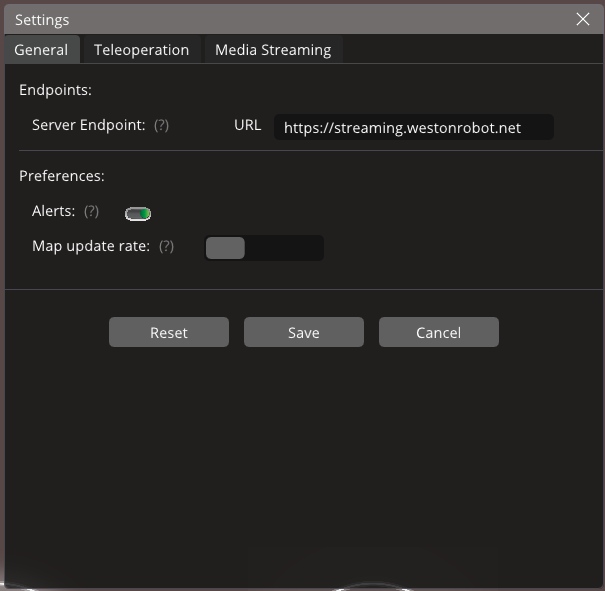
Joystick and camera settings, reached from the gear icon in the bottom right corner of the client.
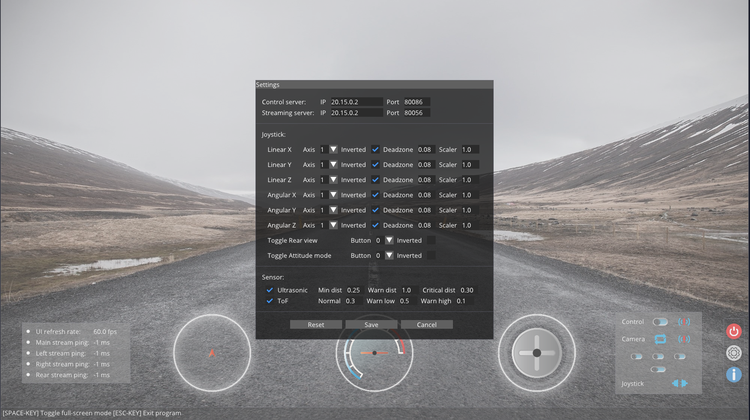
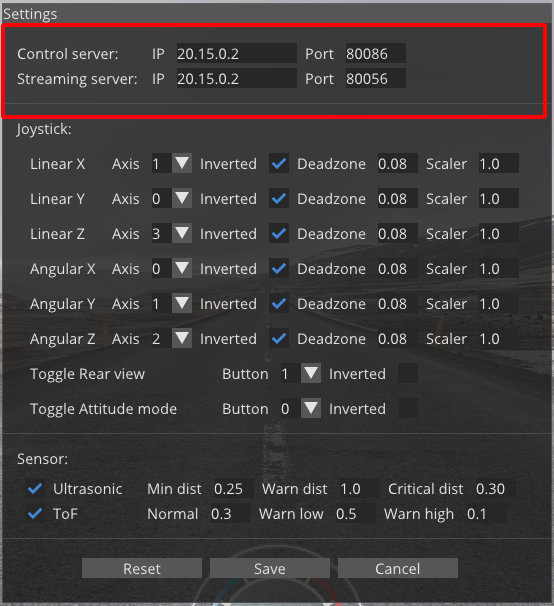
On first startup a settings dialogue prompts for the values the client needs:
- Control server IP address and port
- Streaming server IP address and port
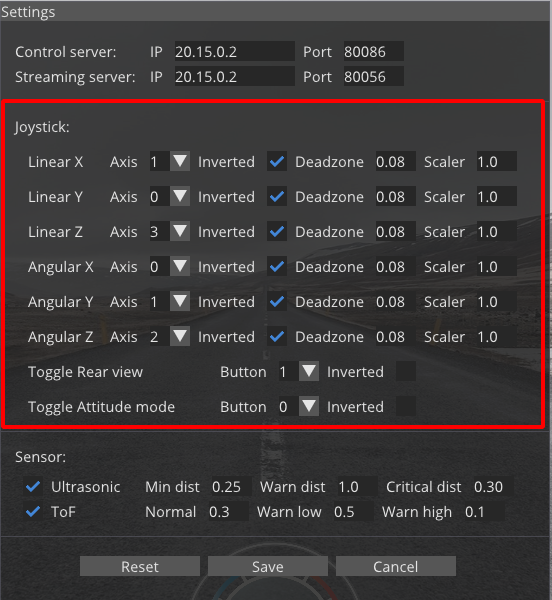
- Joystick mapping
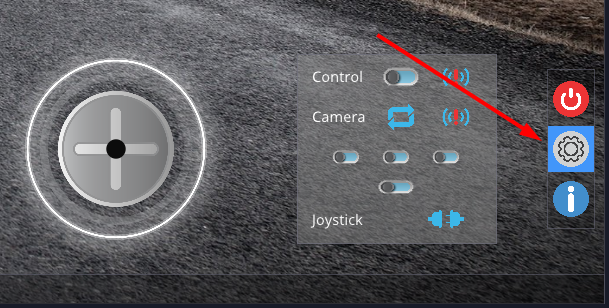
Afterwards, reach settings from the button at the bottom right of the client:
The server addresses correspond to the robot's wlan0 interface by default:
Joystick axes map as follows:
| Axis | Movement |
|---|---|
| Linear X | Forward and reverse |
| Linear Y | Side to side |
| Linear Z | Body height |
| Angular X | Body roll |
| Angular Y | Body pitch |
| Angular Z | Yaw |
Manual control with a wireless gamepad
At least one controller must be connected before you can drive the robot.
- v3
- v2
- v1
Pairing a PS4 gamepad over Bluetooth:
-
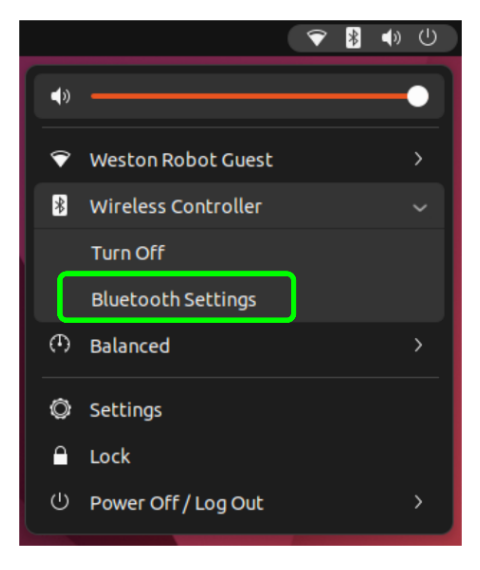
Open Bluetooth Settings from the toolbar menu in the top right of the screen.
-
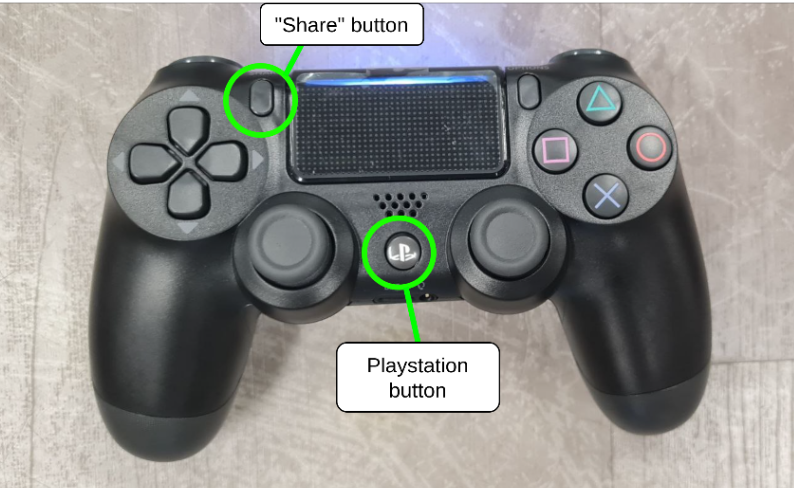
Put the controller into pairing mode by holding the PlayStation button and Share button together until its LED flashes blue.
-
Find Wireless Controller in the Bluetooth list and connect to it.
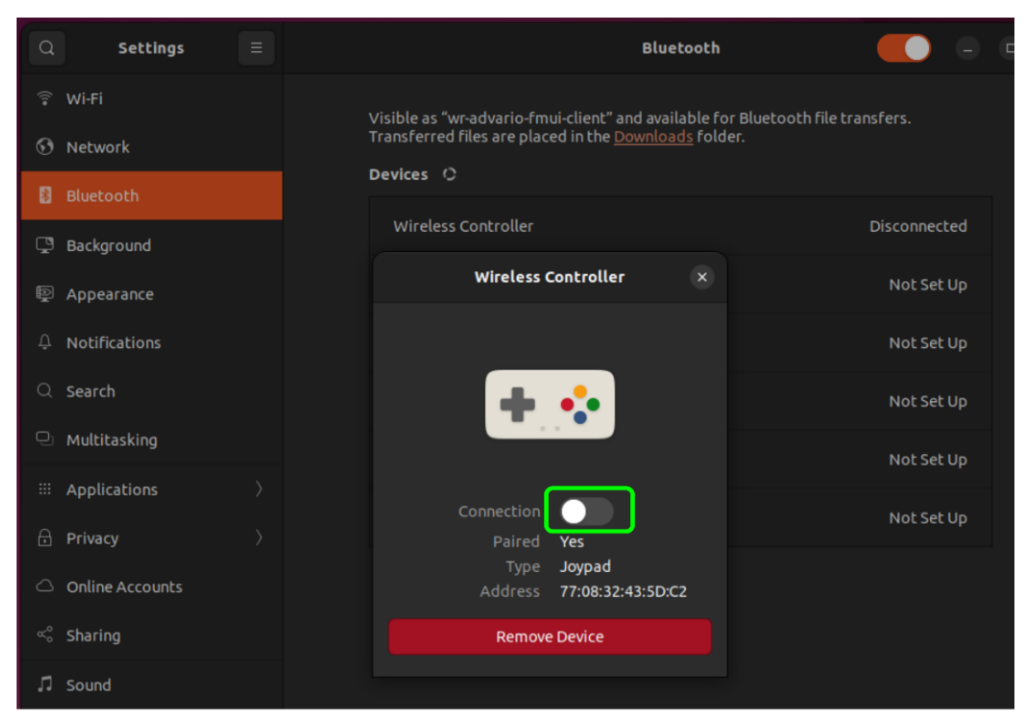
-
On success the controller LED turns solid blue and this icon appears in the teleoperation panel.
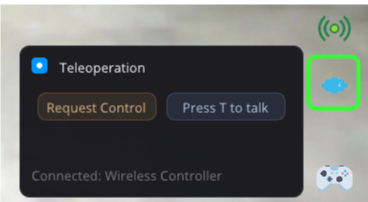
-
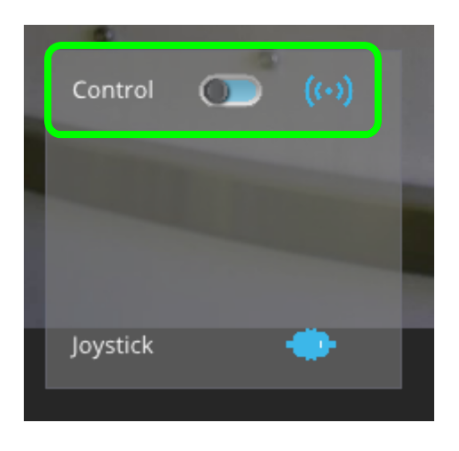
Request control from the robot with the toggle switch.
cautionCheck your joystick settings before requesting control.
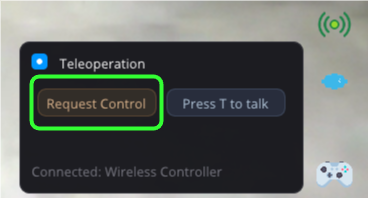
-
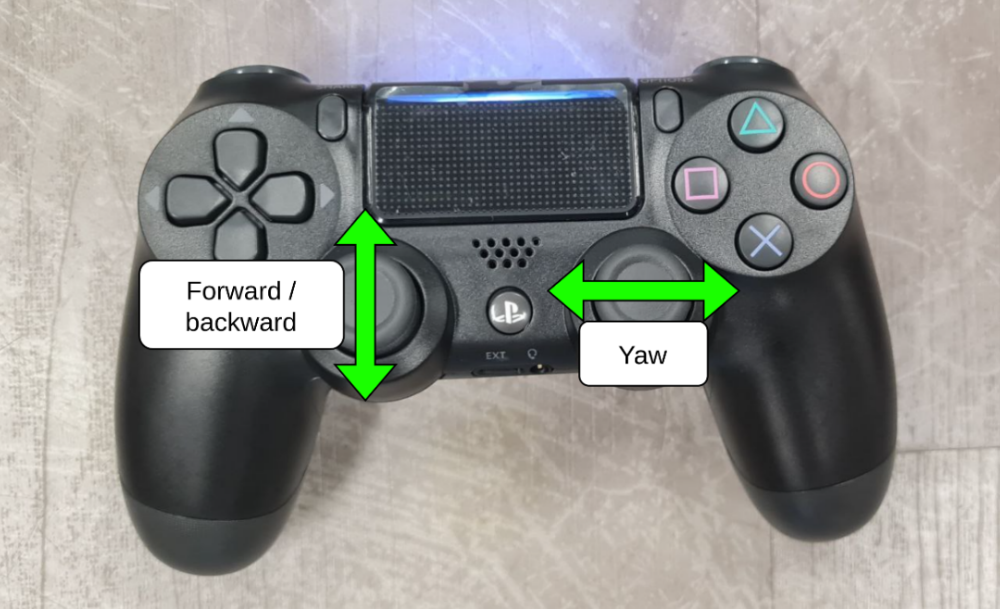
Once you have control:
- Left stick — forward and backward
- Right stick — rotate left and right
Pairing a PS4 gamepad over Bluetooth:
-
Open Bluetooth Settings from the toolbar menu in the top right of the screen.
-
Put the controller into pairing mode by holding the PlayStation button and Share button together until its LED flashes blue.
-
Find Wireless Controller in the Bluetooth list and connect to it.
-
On success the controller LED turns solid blue and this icon appears in the teleoperation panel.
-
Request control from the robot with the toggle switch.
cautionCheck your joystick settings before requesting control.
-
Once you have control:
- Left stick — forward and backward
- Right stick — rotate left and right
v1 uses a joystick configured through the settings dialogue rather than a paired gamepad flow — see Settings for the axis mapping, and set it before enabling control.
Troubleshooting & FAQ
The client shows the servers as offline
Check that the robot and host computer are on the same network, and — on v1 — that wr_adt_server.service is running on the robot. See Getting started.
The robot does not move when I use the joystick
Control is disabled by default and has to be requested or toggled on. Confirm the joystick is detected and mapped correctly first; on v1 the gauge in the client shows its live state.
I do not know which version I have
Check the installed package: wr_assisted_teleop is v1, wr-ad-toolbox is v2, wr-mission-control is v3. See Versions.
Support
Tell us which ADT version you are running and which robot you were connecting to — Before you contact us lists what else helps.