Component re-configuration
How to get inside the UGV Development Kit to add, move or service the components it carries. The procedure is the same on both generations except where marked — v1.1 adds removable side doors, which the v1.0 frame does not have.
Remove power cables and connectivity ports before sliding the hardware rack out. The rack moves further than the cable slack allows, and the connectors take the load.
Main frame
The frame is what everything mounts to, and what determines where an added component can go.
- v1.1
- v1.0
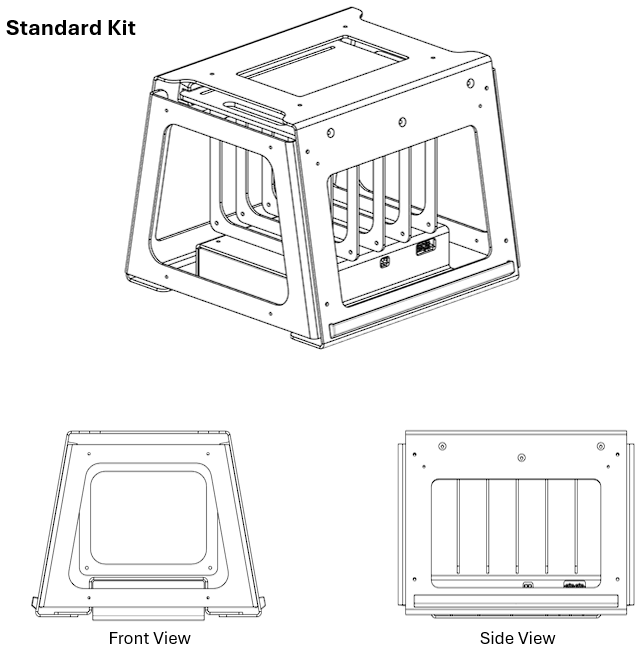
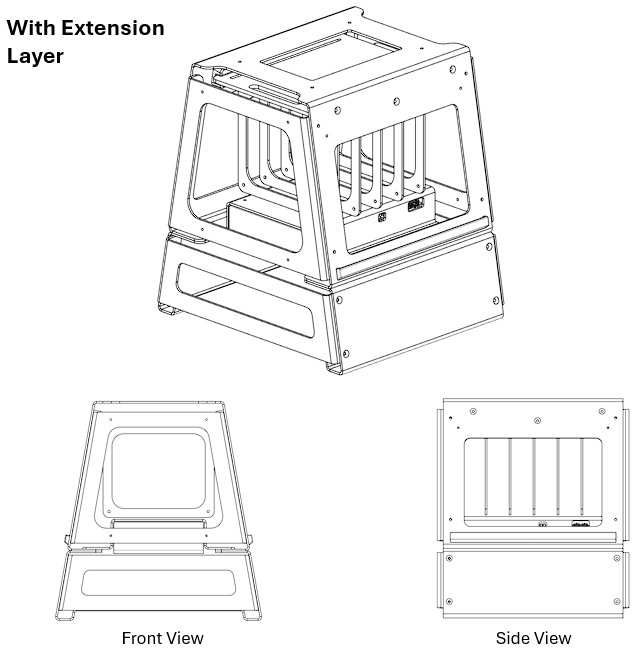
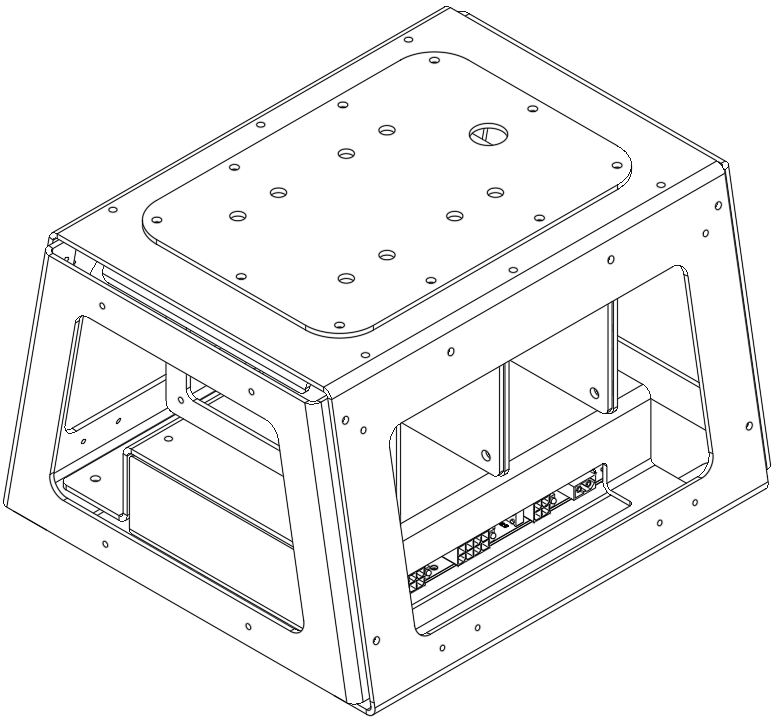
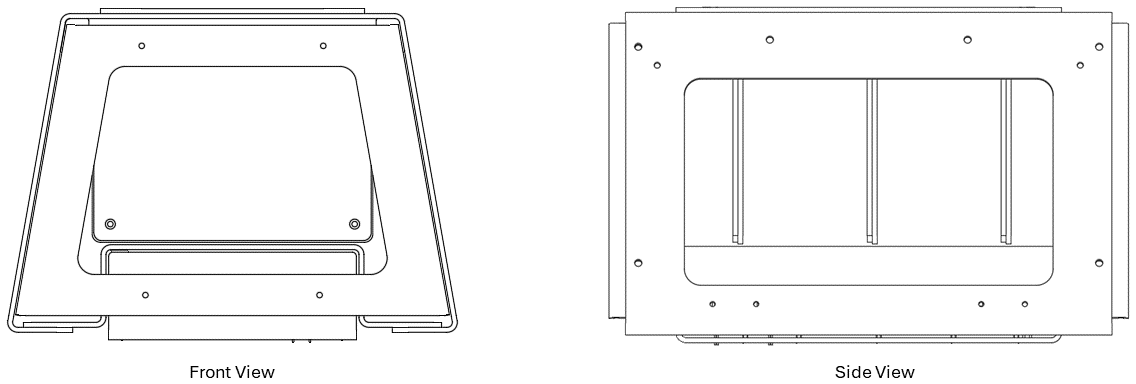
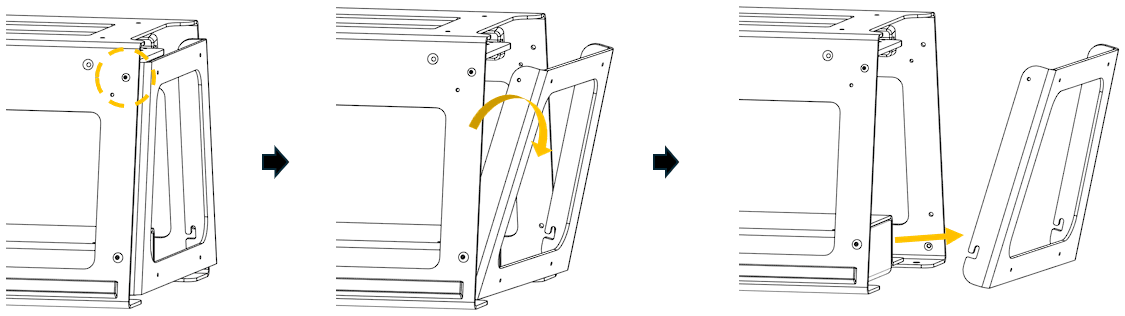
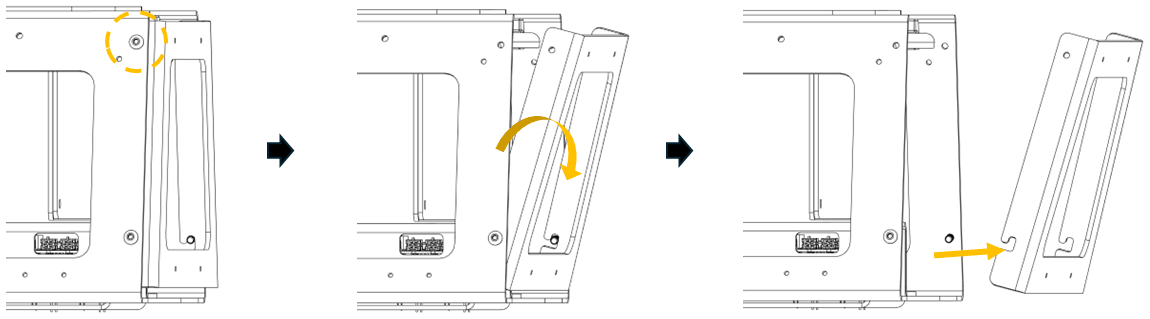
Removing the front and rear latches
Identical on both generations:
- Remove the fasteners — 2 × M5 bolts — from the top of the case.
- Tilt the latch outwards.
- Lift the latch to separate it from the main frame.
- v1.1
- v1.0
Accessing the components
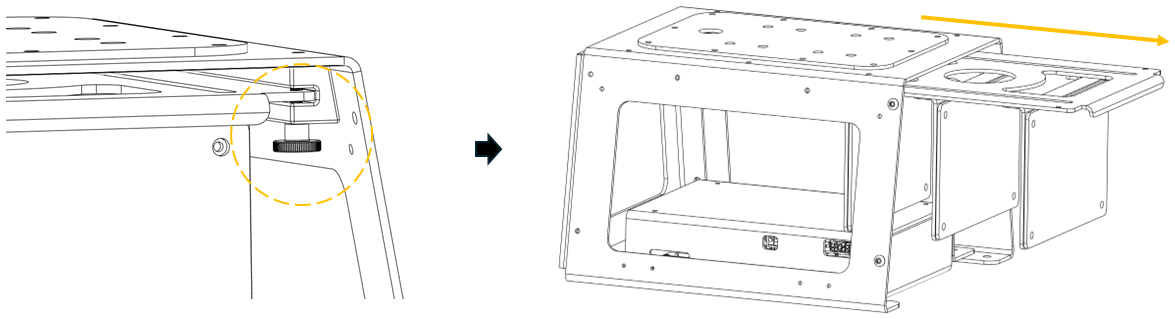
Internal hardware and wiring can be reached either from the side, or by sliding the hardware rack out.
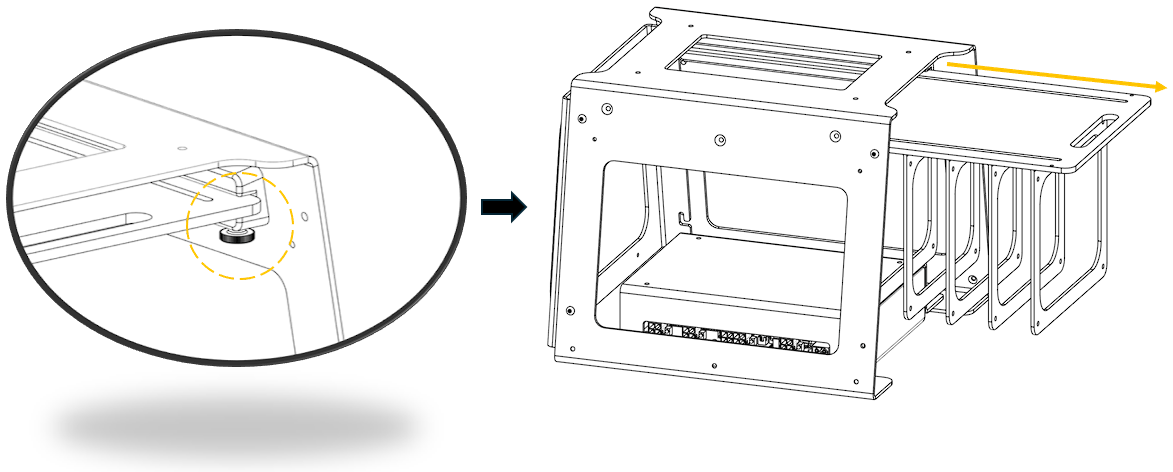
To slide out the hardware rack:
- Remove the locking thumb screw.
- Slide the rack out — after disconnecting cables, per the warning above.
- v1.1
- v1.0
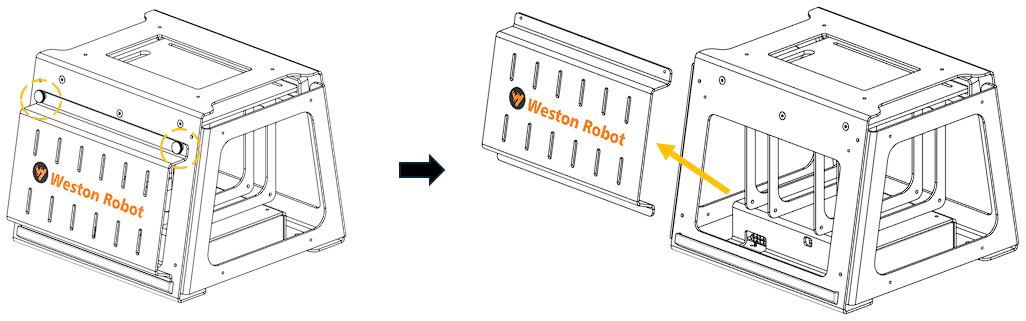
To remove a side door — v1.1 only:
- Remove the locking thumb screws.
- Lift the door away.
The v1.0 frame has no removable side doors — access is through the open sides or by sliding the rack out.
Support
- UGV Development Kit — the product page
- Before you contact us — what to collect before raising a ticket